Showing posts with label Nails. Show all posts

26 January 2014

Kiss Everlasting Gel Nailpolish

So for christmas Santa brought me the PRO LED gel lamp from Kiss. Maybe once or twice I had mentioned that I  was curious to all those DIY gel nailpolish kits. Guess Santa picked that up somewhere. I was already kinda focused on Sensation nails. Why? Don't really know. Maybe it's because it is the (gel nailpolish) brand that is the easiest to get here in Holland. But the white bearded dude suprised me with the Led gel lamp from Kiss. Yay! So let's get started I was thinking, but too bad.... The lamp doesn't come with a starterkit included like most other lamps. And there comes the downside number one. I think it's pretty expensive compared to some other brands. The retailprice of the Led lamp here in Holland is around € 60,- and then you still have to buy your base gel, colour gel, top gel and gel cleanser. They do have a starterkit with these items which is around € 50,-. In this starterkit you'll find 3 mini's of 4ml. A base gel, colour gel and a top gel. A 12ml bottle of Gel cleanser, a mini file, buff block, manicure stick and a package with lint free wipes. Ofcourse you can also choose to get the full size bottles. They all contain 9ml and are around € 19,-. The prices kinda suprised me because Kiss isn't really a high end brand over here. Don't get me wrong... it also isn't a budget brand like Essence. Think it's somewhere in the middle. Anyway, in the end I got the starterkit. There are two choices. Lush a hot pink colour, the one I got and a French manicure kit.


Enough said about prices. Let's give it a try.

I already had shaped my nails, but before we can get polishing you'll need to buff the nails. That way the gel polish will attach better. After that take a lint free wipe and clean your nails with the gel cleanser. And now the fun part. Make sure you have everything ready to go. Put your lamp and bottles into place. But! but but but... Keep your bottles and brushes away from the Led lamp. If they are too close your polish will dry out!
Then take the base gel and apply a thin layer on your pointer, middle, ring and pinky finger. Now switch on your LED lamp and put your freshly polished fingers under the lamp for 30 seconds. And there comes pro #1. A timer is installed in the LED lamp so you exactly now when your 30 seconds are done. A beep goes off after 30 seconds and then it shuts down after another 30. So when the first 30 seconds are done you can go ahead with applying the basegel on your thumb. And again switch on the Led lamp and leave your thumb in there for 30 seconds. Now we're of to the colour gelpolish. Simply repeat the same steps as you have done with the base gel but this time leave your fingers under the LED lamp for 60 seconds. To protect the colour and give it a bit of a shine apply the Top gel and put it again under the LED lamp for 30 seconds. Then take a lint free wipe again and remove any excess gel residue with the gel cleanser.

And there you have it! Easy peasy. As we say in Holland... " A kid can do the laundry.. "
I must say I am pleasantly suprised with this kit. It was so easy to do and the result is really good. I heard stories about polishes pulling back after having them underneath the lamp, not necessarily with this brand but just in general. But that didn't happen. I think you have to really make sure you seal the edges of your nails and then that won't happen.

Quickly the pro's and cons so far:
Pro - Very easy to use. Especially the lamp with the timer.
         Colour looks nice and shiny.
Con - Fairly expensive in comparison to some other brands and less colour choices.

Now let's see if it stays on for the two weeks it promises. Very curious to the other colours in the Everlasting Gel Polish line.

20 January 2014

ROCK STARLETS ~ Gwen Stefani for OPI


Like so many OPI is also one of my fav nailpolish brands. A quick dry guarantee and most of the time not more than 2 layers needed. After having the Mariah Carey collection it was a nice surprise when OPI announced a collaboration with Gwen Stefani. What comes to mind when I think of Gwen Stefani? Definitely a fashion icon. The pale skin with the popping red signature lipstick. A real power woman with an edge. So I was really curious what the collection would look like and eager to try them.

There are 7 colours to choose from. 1) Over & over A-Gwen, 2) In true Stefani fashion, 3) Push and Shove, 4) Love.Angel.Music.Baby, 5) I Sing in Color, 6) Hey Baby, 7) 4 in the morning.
The last four I got in a mini package and so those are the ones I could make swatches of.

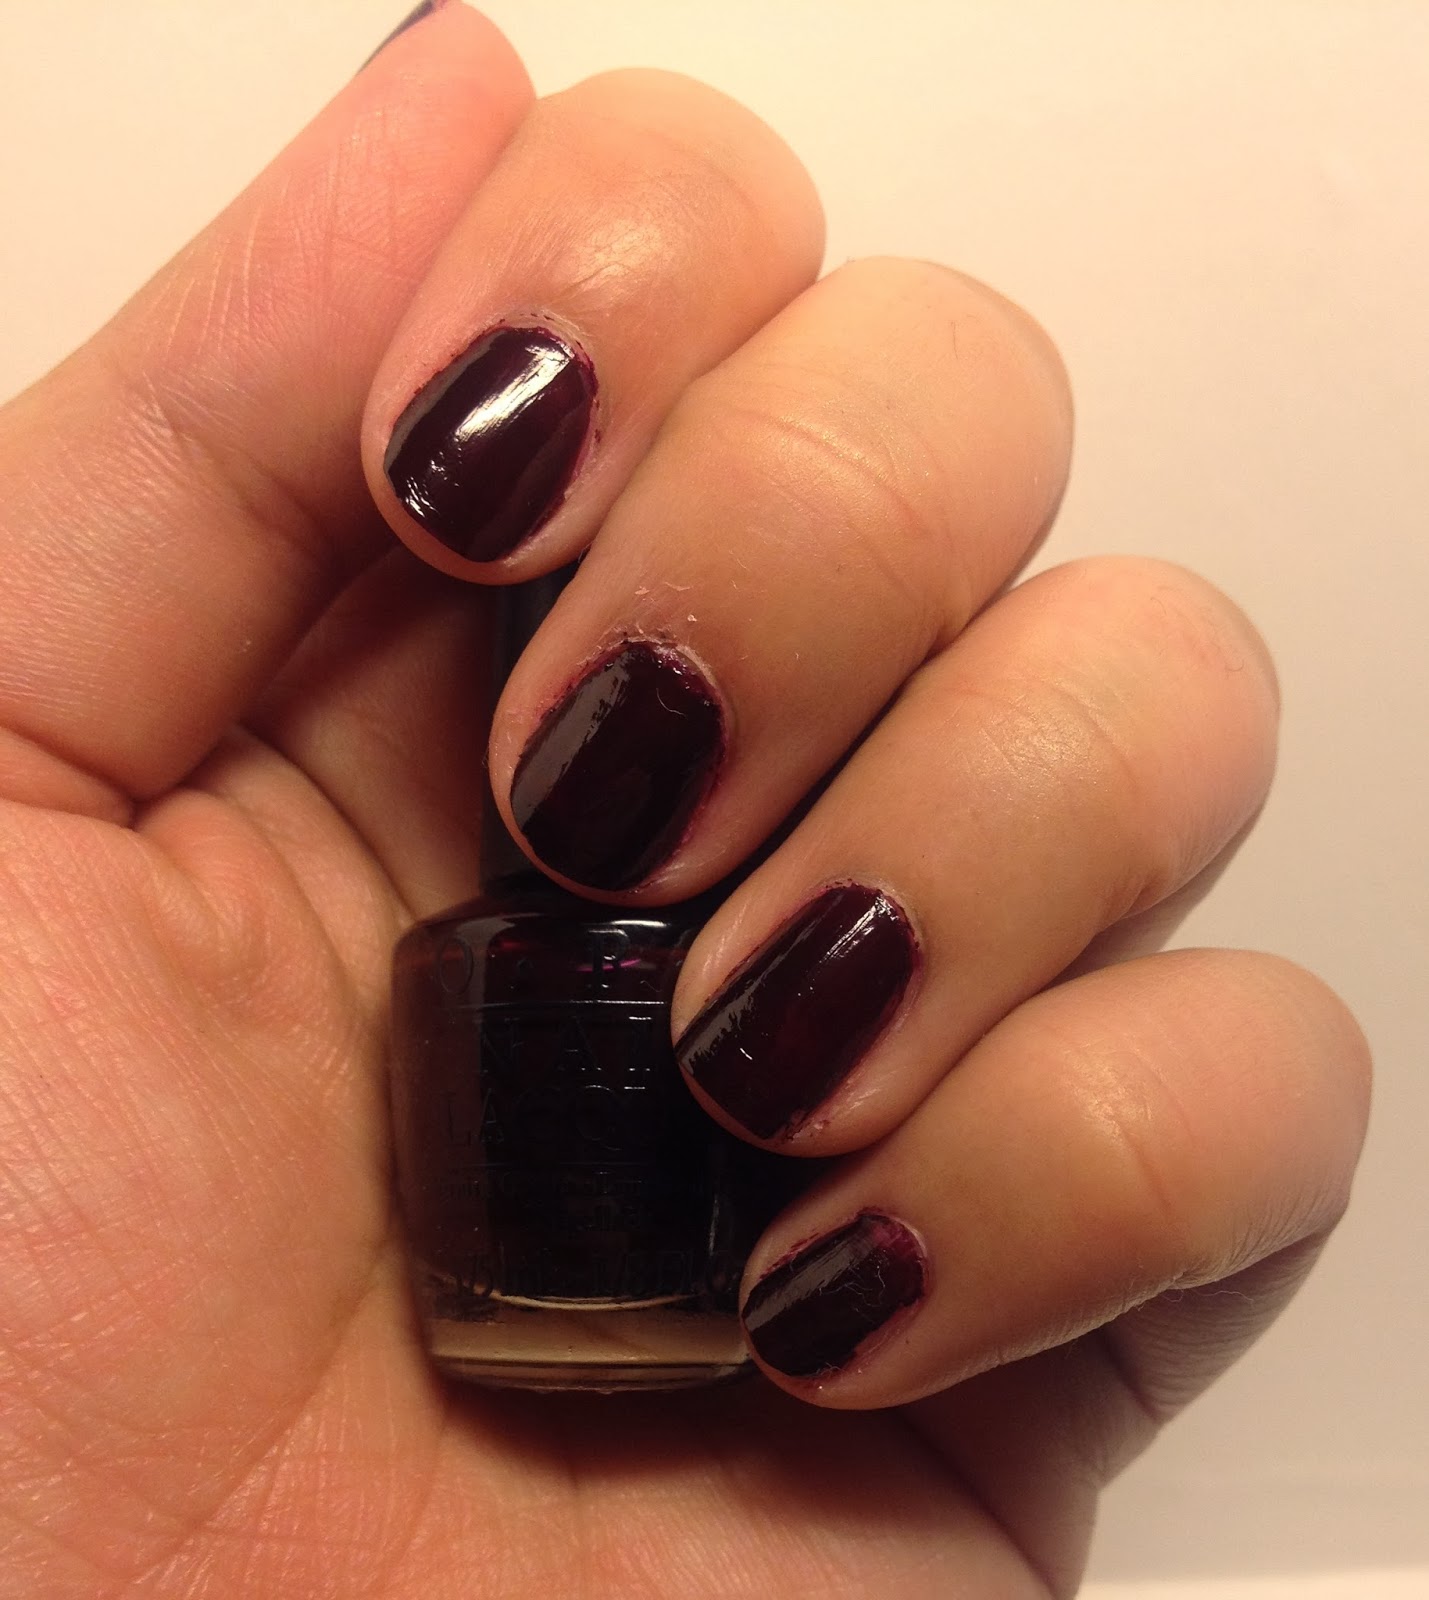
So let's kick of with "I Sing in Color". A deep wine red colour. If you only put on one layer it is more of a purple-ish colour. I really like deep/dark red colours. Especially in the winter. This one has a nice finish. I had put on 2 layers, but maybe it was better to get 3.
    I Sing in Color